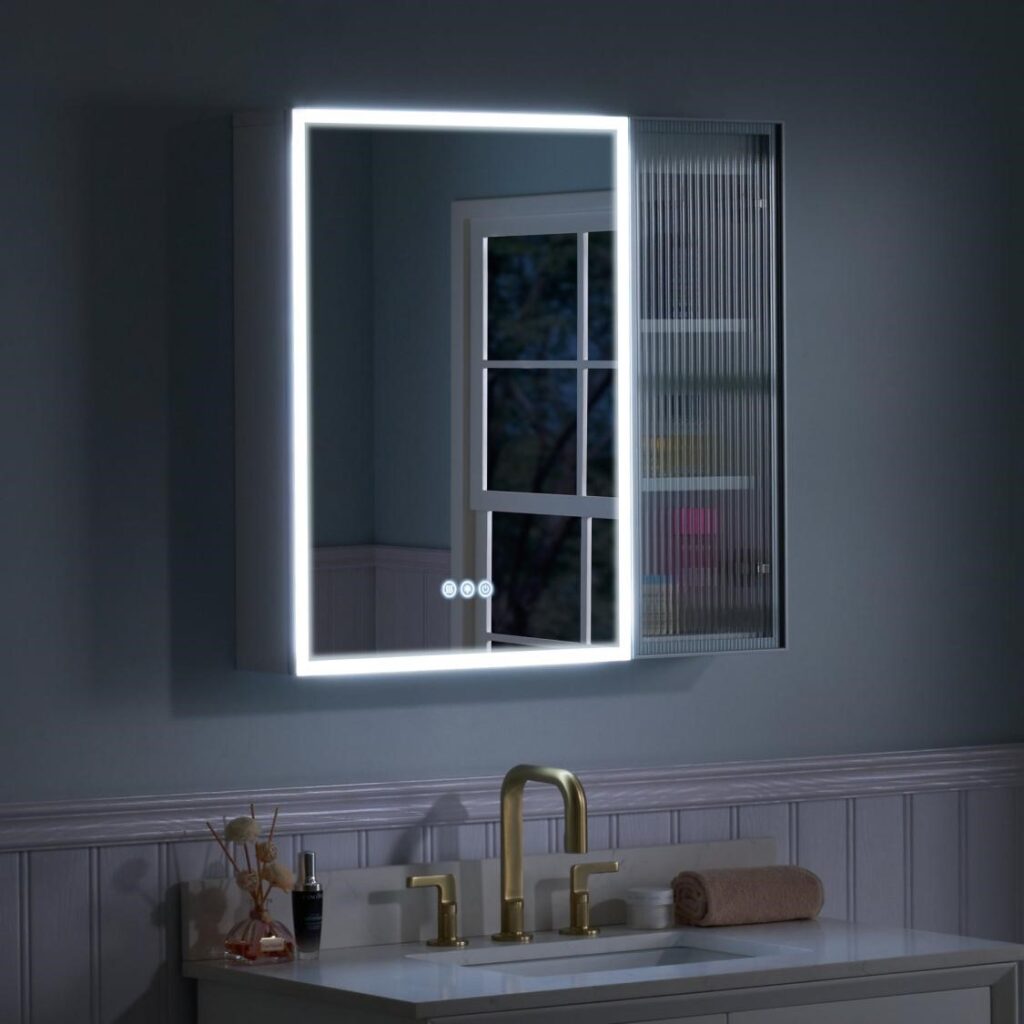
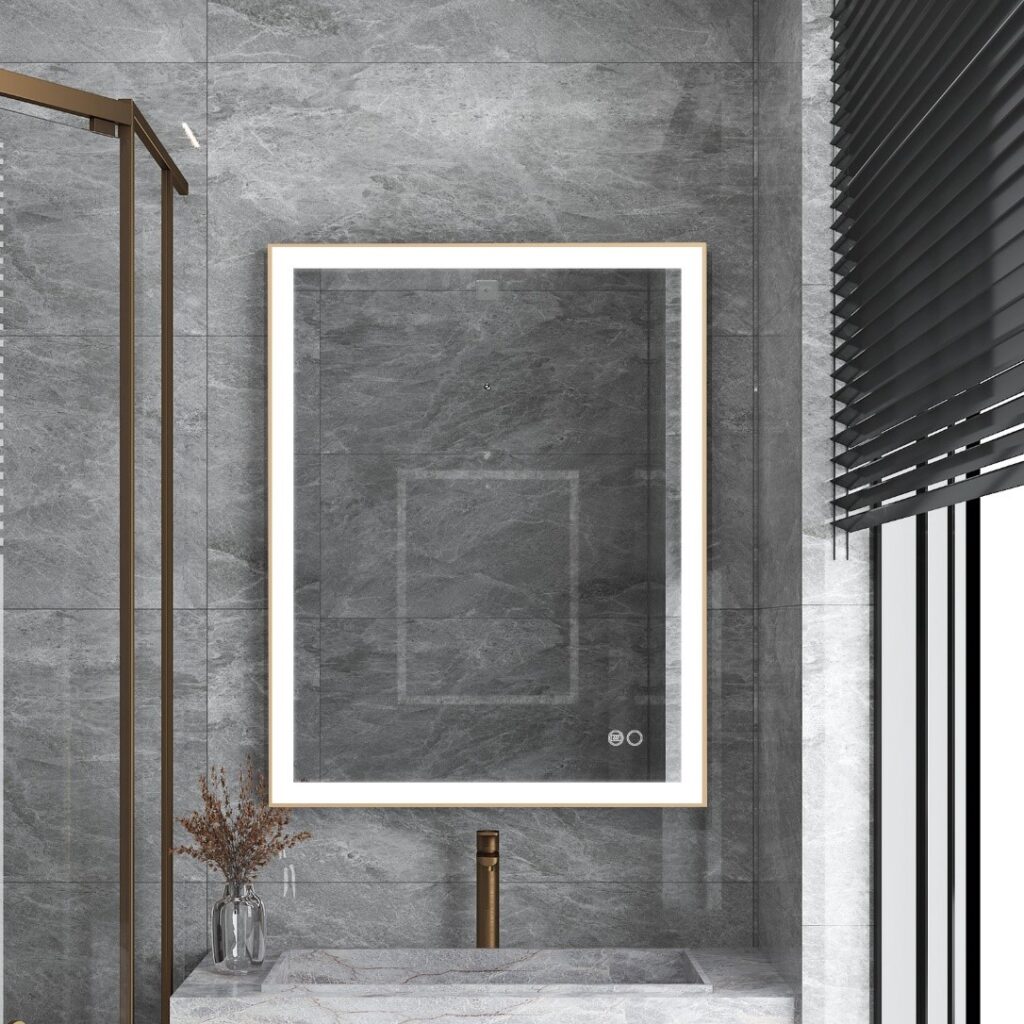
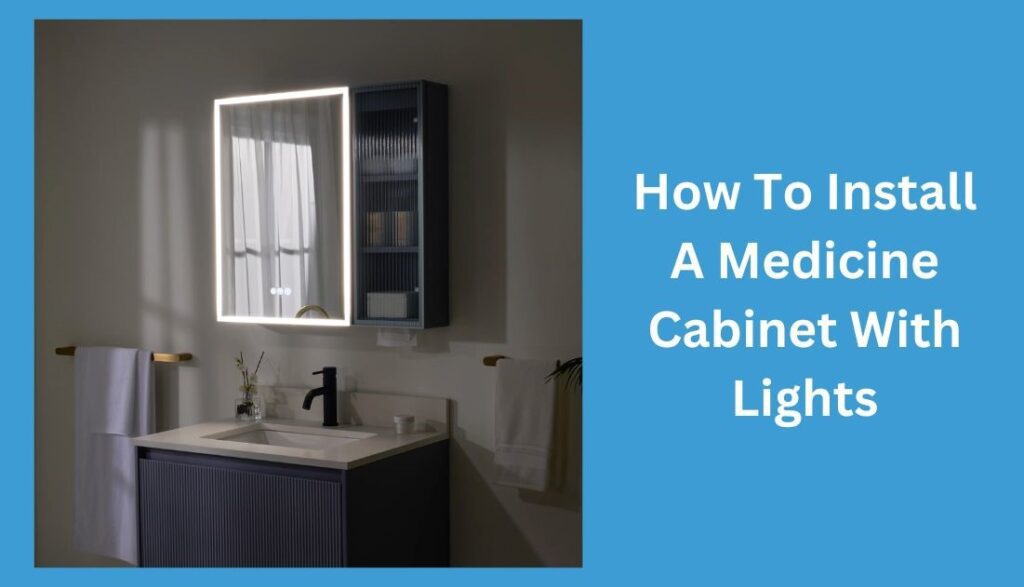
Who doesn’t like a luxury bathroom with huge mirrors and bright lights, all shiny and welcoming you to start your day in luxury? But do you know what adds that luxury factor to your bathroom? Well, something as simple as lights can transform your entire bathroom at absolutely no extravagant cost. Especially if these lights are attached to a fancy medicine cabinet, they can take your bathroom to a whole new level. A medicine cabinet with lights will sing the perfect harmony of design and functionality, as it will double up as a bathroom vanity mirror and make your bathroom look like you’ve spent thousands on it.
Once you have a luxury medicine cabinet with a mirror and lights, installing it is the tough part. One wrong move and your entire investment can go down the drain. So, ideally, you should look for an expert to do the job who will make sure that there are no loopholes left in the process. If you want to do it yourself, you should be aware of the in-depth process and how to install the medicine cabinet with precision and perfection. In this guide, we will take you through the basics of installing a bathroom medicine cabinet with lights so that you save up on installation costs and learn something new to do.
Installation Steps
Installing a bathroom medicine cabinet with lights can be tricky and time-consuming, but it is something that will take your time and effort once, and then you will reap the benefits for a lifetime. Before starting the installation, you should gather all the necessary tools and materials you will need to install the cabinet. The general tools that are often required in the installation are a power drill, a screwdriver, screws, a level, and a stud finder.
Moreover, you should also check the size of your medicine cabinet and make sure that it fits your desired place in the bathroom. The medicine cabinet should maintain your bathroom design and provide easy access to things. Instead, it should fit perfectly in its designated place to increase functionality and aesthetics.
Get The Right Measurement
Start the installation process by measuring your bathroom wall. Use a pencil to mark the height you want for your medicine cabinet with lights. If you are installing more than one medicine cabinet, mark the distance between them as well. Make sure that the height you are marking is easily accessible, and if the medicine cabinet has a mirror, the cabinet should be at a height where you can easily see your reflection. Keep a keen eye on symmetry. Make sure that your markings are aligned and straight, as you don’t want to install a tilted cabinet that will ruin its entire look.

Mark The Studs And Drill Holes
Locate the studs in the bathroom wall with the help of a stud finder. Using studs to attach the medicine cabinet will ensure safety and durability. However, if you plan to keep heavy items in your medicine cabinet, securing the cabinet with studs will give it strength. Mark the positions of studs with a pencil and pre-drill holes to fit the screws. The holes should be smaller than the screws so that the screws fit perfectly. This is important to know, as these steps ensure a stable and durable installation of the cabinet.
Install The Cabinet
Once you have drilled the holes, it’s finally time to install the cabinet. Get the help of a family member to mount the cabinet in its place while you secure it with screws. It is important to keep an eye on the level to give it a professional look. If your medicine cabinet comes with pre-installed lights, like the ones from Wellfor, you can skip the additional step of installing the lights. But if the lights are generally provided, you must also attach the wiring. Connect the light wires as instructed in the product manual, or get help from an electrician to install the lights safely. If properly attached, these lights will turn your medicine cabinet into a bathroom vanity mirror, making it easier for you to do your everyday grooming and makeup.
Final Checking
Once the cabinet is in place and the lights are properly attached, it’s time to give your installation a final check. Check the level again, and double-tighten the screws to ensure stability. Make sure everything is properly aligned and well in place. Also, test if the lights are properly working or not. The wiring should be properly attached to prevent any burnout in the future. If you feel anything needs working again, give it more time. It is better to remove any errors now and give more time to your project instead of leaving it and facing the issue in the future. Installation itself is time-consuming and costly, but repairs always cost more and can take away the actual beauty of the cabinet you desire for your bathroom space.
Finally, Stand back and view everything from a distance. Double-check everything so that you don’t have to go through the installation process again in the future. Everything is perfect? Now, appreciate your hard work and enjoy a well-lit, visually appealing bathroom every day. Enjoy the compliments as well that you will get for doing an amazing job of installing a medicine cabinet all by yourself!

Conclusion
Installing a medicine cabinet can seem like a time-consuming and tedious task. Still, it is actually a very rewarding DIY project that you can enjoy with your family or friends. Going through the installation process yourself will give you a feeling of satisfaction that you transformed your bathroom and will save you the installation cost. A perfect installation will ensure that your bathroom is beautifully lit everyday and your reflection is clear. A simple addition of a medicine cabinet with lights and a mirror will function as a bathroom vanity mirror and give your bathroom the perfect look you desire.


